How to make an Advent Calandar
We are now in the preparation season for the holiday season!
In my family, from December 1st, the children all have an Advent calendar, in which they finds a little surprise every day.
This year, to make things different, my goal is to make reusable calendars! Several companies print panels that are easily transformed. In store you will find 5 different models.
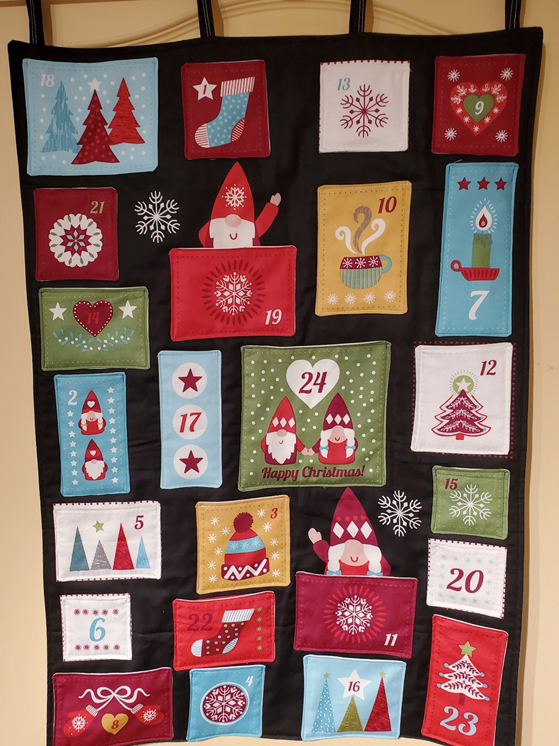
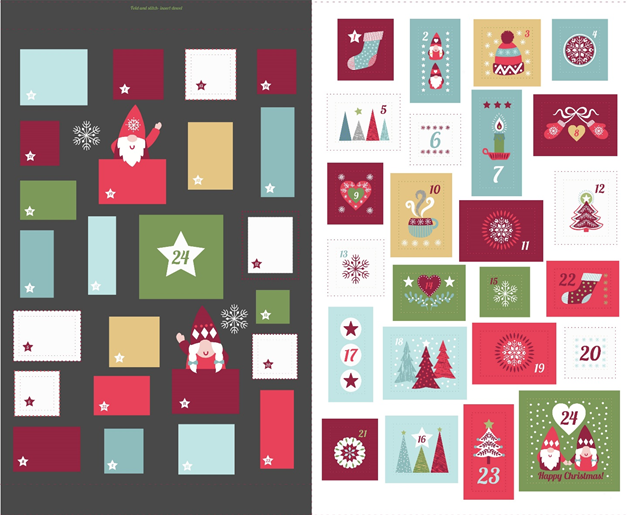
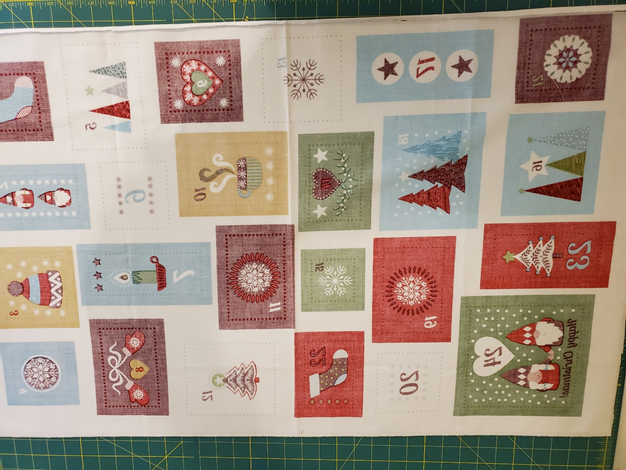
For this article I am going to show you pictures of the panel from the Lewis and Irene Hygge Collection, this model come in 2 background colors, black or aqua.
To successfully complete this project you need the following materials (which are included in the set for sale here):
1. The fabric panel
2.1m of fabric for the backing
3. Filling or stabilizer
4. Assorted color thread
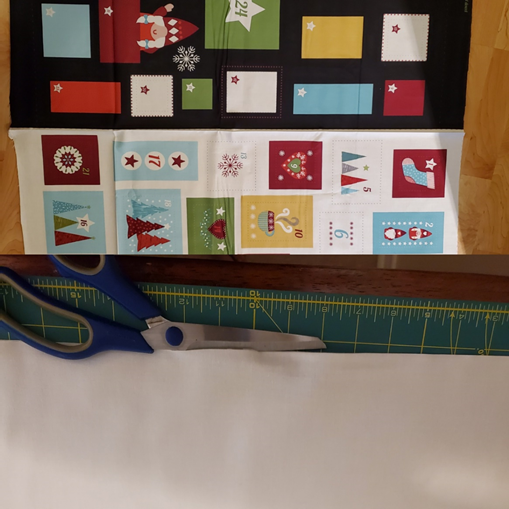
Step 1: Cut the panel and backing
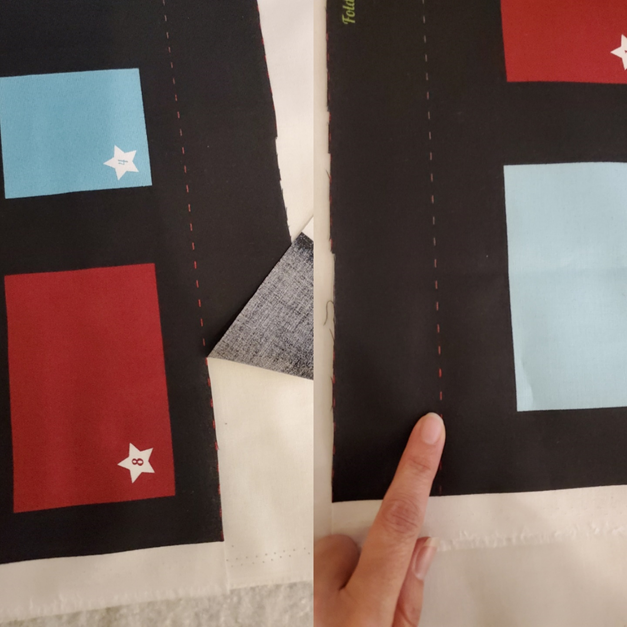
This step consists of separating the panel in half on the red dotted line between the two black and white sections. Set aside the white section for now.
For the backing fabric, cut at the center fold. Before cutting validate the direction of the cut by putting your printed panels on it for verification.
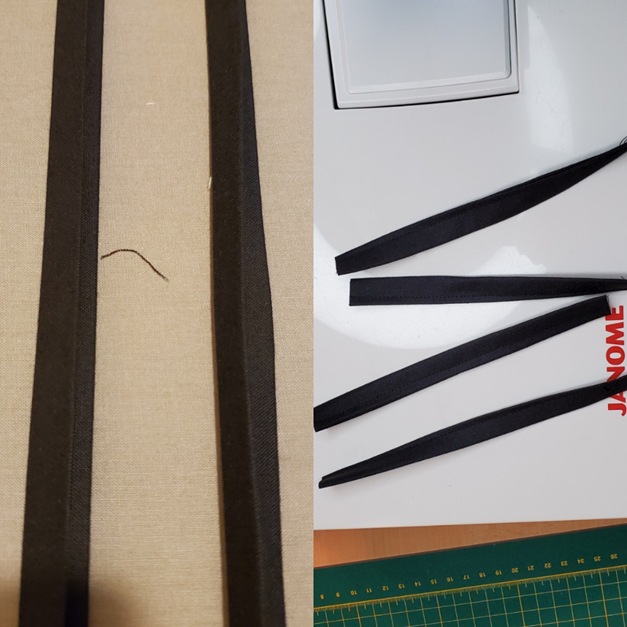
Step 2: Make the straps to hang your project
With the two strips of fabric that you have just cut, we will make the 4 loops that will allow us to hang the calendar on a piece of wood.
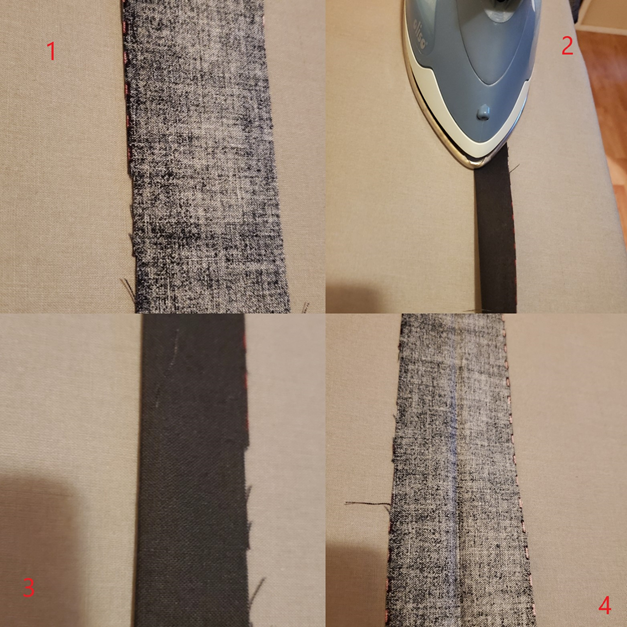
On your ironing board, put your fabric strip, back side up (1). Fold up so that the 2 sides touch (2). At this step, your strip should look like photo 3. Finally open (4) the fabric. The fold will serve as a guide for the next step.
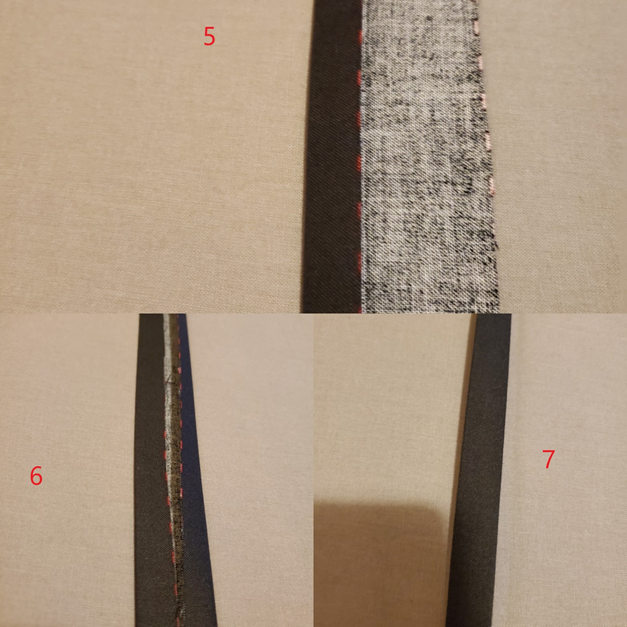
Fold up the first side, lining up the edge with the middle crease and steam iron (5). Repeat the same process with the 2nd side (6). In the end you should have a tube like photo 7 where the unfinished edges of the fabric are hidden in the middle.
Step 3 - Sew the body of the calendar
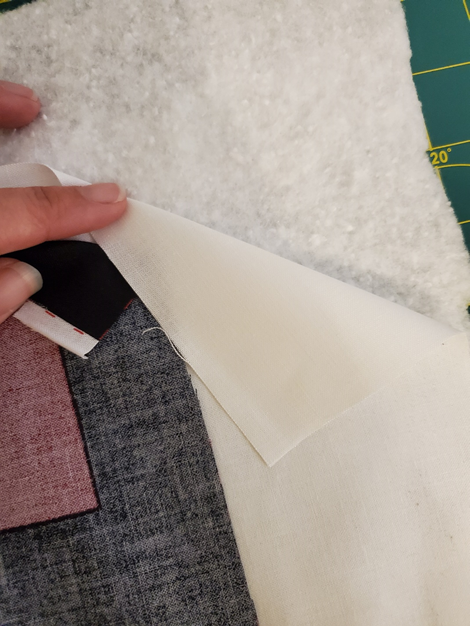
On your work surface, place in order: the batting, the back (if you use a fabric with a direction it must be put face printed on the top) and add face down the black panel of the calendar.
Sew ¼ inch down all sides, leaving an opening of about 5 inches at the bottom to be able to turn the calendar over.
Once turned over, press to flatten the cuttings. Topstitch around with a finishing ¼ inch seam. At the same time, this allows the opening to be closed. Put aside
Step 4 - The pouches
For this step, you will need the white part of the panel and the second piece of the backing that you have set aside.
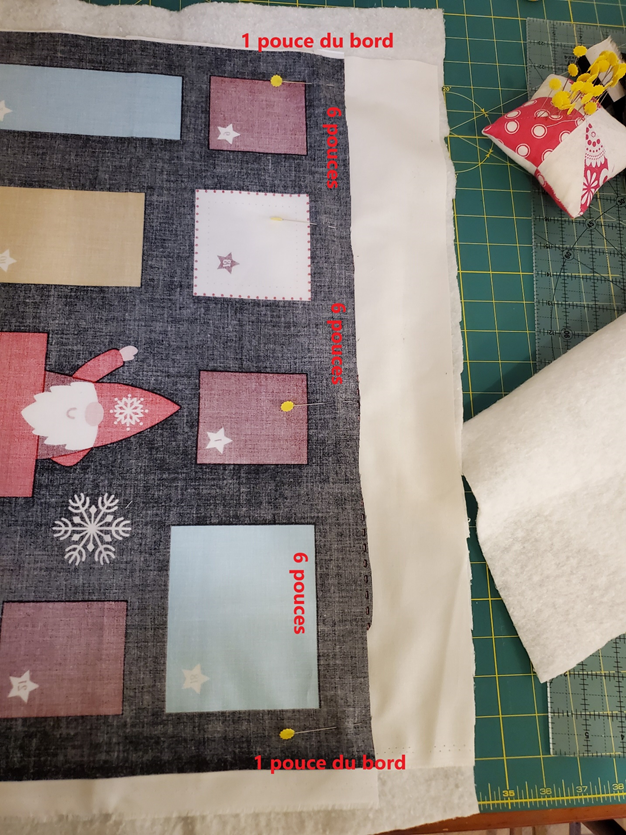
Place panel right side in on backing fabric. Pin each pocket by putting a pin in the middle.
On your sewing machine, sew all the pockets one after the other on all 4 sides.
• Your choice: Sew directly over the dividing line or ¼ inch inside it.
Be careful to leave an opening of about 1 inch on one side. This opening will allow you to return your pouches.
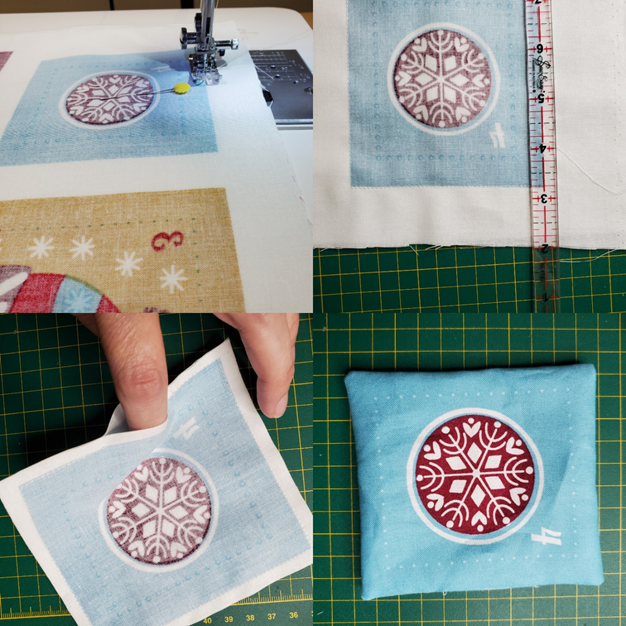
Once all the pockets are sewn, they need to be cut. Regardless of the sewing method chosen, the pockets should be cut ¼ inch from the seam.
Step 5 - Finishing the Calendar
Take your pockets and sew them on the designated location on the calendar. You can use color-matched or non-color threads to secure them in place. Make sure to always sew your seam as close as possible to the edge of the pocket to properly close the opening.